How To Start In Oil Painting For Under $130
Hello Friends and Foes
Todays podcast is about how to get started in Oil Painting when you have NOTHING. Say you saw someone doing a cool painting online and you think to yourself, this looks super cool! I want to try it! Whether you are an artist in other mediums, or a complete artistic beginner, this list will help you in getting the supplies you need to have a successful start in oil painting, without breaking the bank.
This list applies to any kind of oil painting. Portraits, Landscapes, Abstracts- whatever you like! At the end of the main list I’ll have a few recommendations of things to get if you are planning on doing a specific genre of oil painting that will help you out, so make sure to read to the end.
Pro tip: If you go to buy any of this at an art store, many will give a student discount. So if you are taking any kind of art classes anywhere (not just a university) say so! You’ll probably get 10% off.
The Quick List:
Oil colors, I recommend Gamblin:
Cadmium Yellow, Yellow Ochre, Burnt Umber, Cadmium Red, Alizarin Crimson, Ultramarine Blue, Phthalo Blue or Green, Sap Green, Ivory Black, and Titanium White
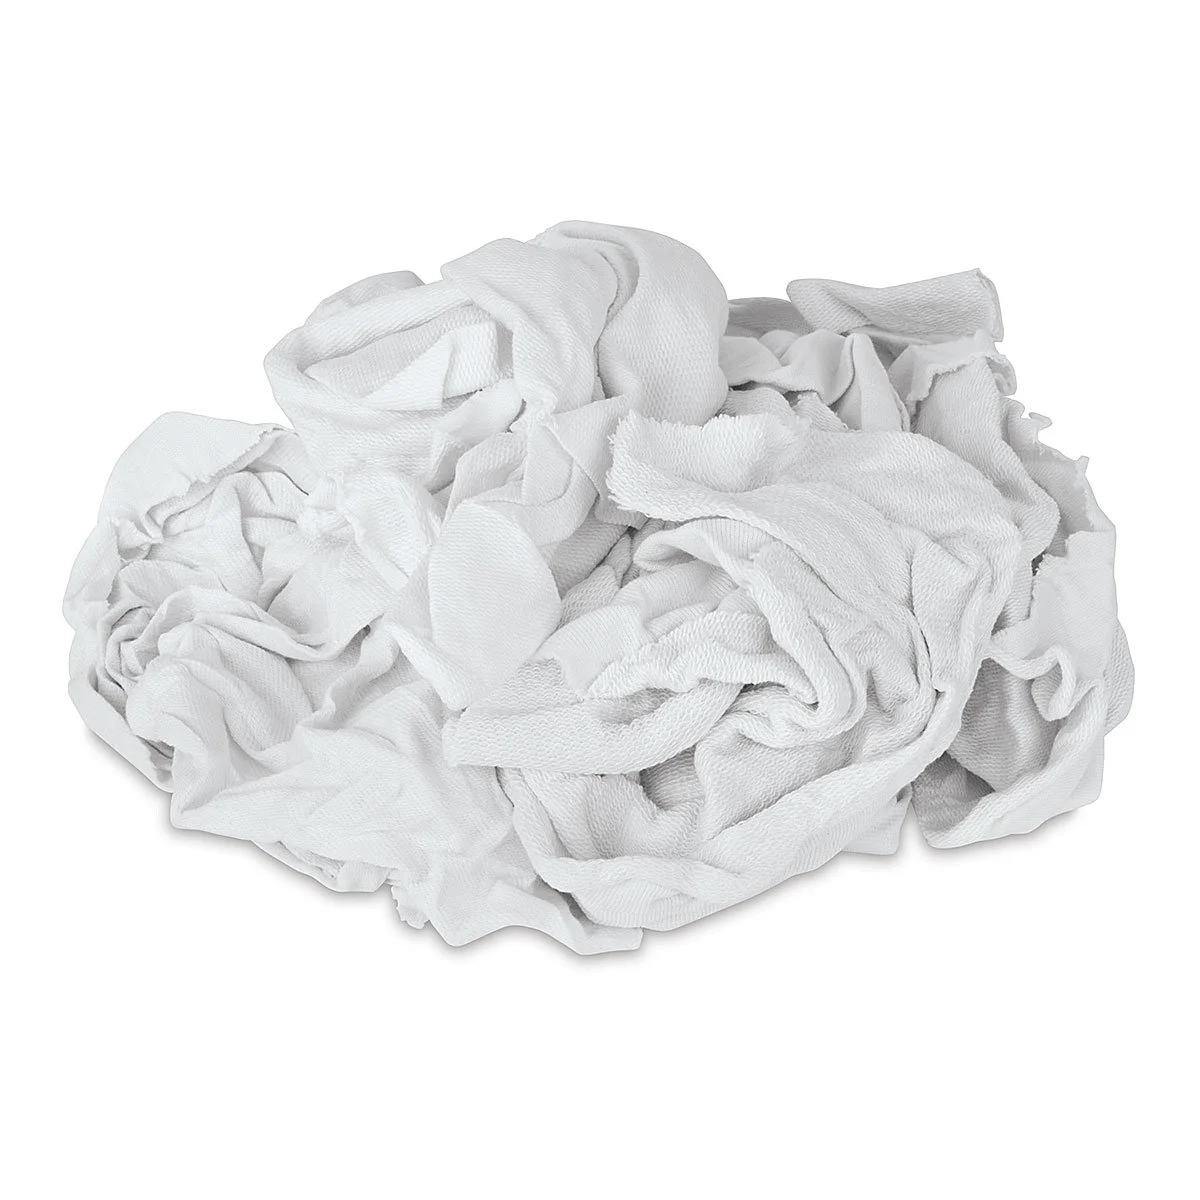
Rags or paper towels. Throw these away outside each day.
Soap: for cleaning brushes, Masters Brush Cleaner and Preserver is my favorite
3-5 Synthetic brushes of various sizes and shapes
I like a long handled round, filbert, and angled brush in sizes 4-10 when starting
Surfaces: canvas or panel, make sure it has a gesso layer on it first!
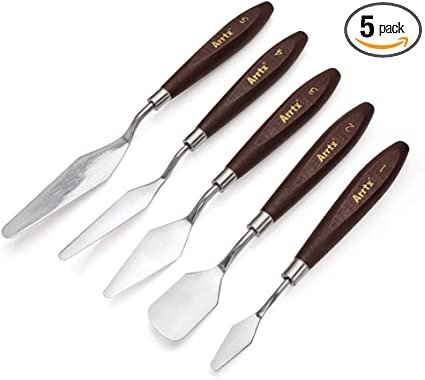
Two pointed pallet knifes for mixing. These made by blick are great. I have style 33 and 13
A pallet: wood, glass, or plastic. I use a thick piece of clear acrylic that is painted white on the backside. I’ve used an old mirror before too! Please be careful of sharp corners.
Practice time: set time each day aside to play~
To see the approximate cost of everything listed, I added it up to my cart on dickblick and it came out $128.00 before tax. I was able to get all of it on amazon for about $125.
With this setup, you’ll be ready to paint! Please leave any questions you have in the comments!
The details and some bonus items to help you out:
Colors:
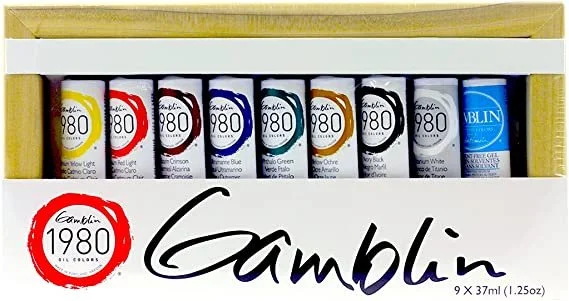
This my favorite set of oil colors. You’ll be able to mix everything you could need as a beginner artist and have some bright fun when painting. In another episode I’ll go through my expanded list of colors that i use as a professional- but this set of color should last you through your first year or two of oil painting.
A note on colors, don’t buy the student grade paints UNLESS they are from Gamblin. I find that transitioning to the professional grade colors after a few years of painting is a big shock in how the colors handle and you have to relearn them. Gamblin’s 1980 student grade colors really hold up to the work, however. If you are hoping to save a few dollars, go with their paints.
The main difference in student grade and professional grade paints is the amount of pigment in the colour. When you pour both kinds on to the pallet, they look identical. But when you start mixing them into another color, you’ll see the stark difference in how those colors blend.
Here are my preferred colors: Cadmium Yellow, Yellow Ochre, Burnt Umber, Cadmium Red, Alizarin Crimson, Quinacridone Magenta, Ultramarine Blue, Phthalo Blue, Sap Green, Ivory Black, and Titanium White
Your paints will be your most expensive items in the bag. You can get a student grade set of most of these colors from Gamblin 1980 for $59. You would need to add on Phthalo Blue, Sap Green, Quinacridone Magenta, and Burnt Umber to complete my list.
On Blick https://www.dickblick.com/items/gamblin-1980-oils-introductory-set/
On Amazon https://amzn.to/3Xny2Af
Amazon:
Sap Green https://amzn.to/3U2sQ1L
Burnt Umber https://amzn.to/3tSm7Nf
Magenta https://amzn.to/3ACzhSo
Blick Sap Green, Burnt Umber, Magenta https://www.dickblick.com/products/gamblin-1980-oil-colors/
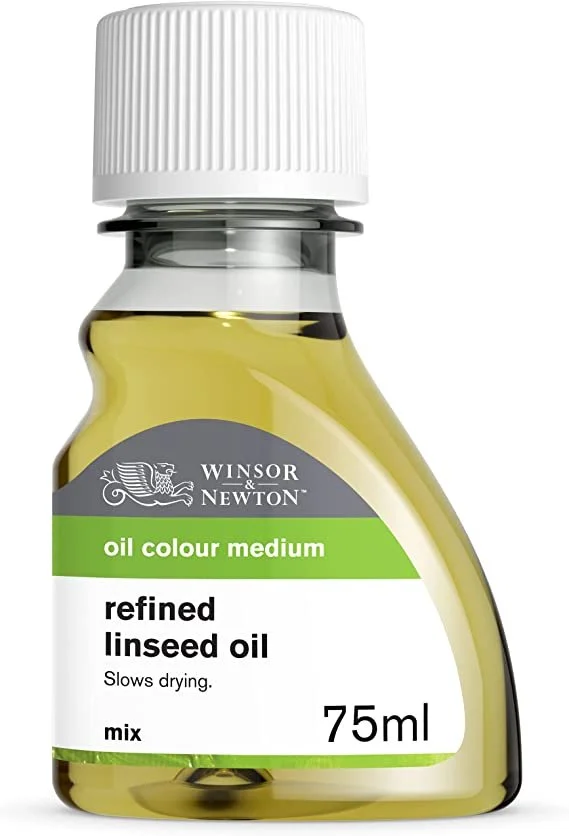
Linseed Oil- This is a common medium for oil paint. When you have a tube of color, it will be mixed into some sort of vegetable oil as it’s carrier. Buying a little extra Linseed oil allows you to thin the paint easily. I don’t recommend you go over a ratio of 30% added linseed oil to 70% paint, or you’ll begin to lose adhesiveness. A small 4.2 oz bottle of this will cost you $7.50
Blick https://www.dickblick.com/items/gamblin-refined-linseed-oil-4-oz-bottle/
Amazon https://amzn.to/3TZ2f5J
Rags or Paper Towels
I like to cut up old sheets and t shirts, but you can use whatever you like! Paper towels, shop towels, etc.
Rags/Paper Towels. You’ll need something to help with clean up. I use cut up old shirts/sheets/towels that are no longer useable otherwise. You can also use paper towels. Lets say $3 a roll
Be sure to throw these out at the end of each day. Don’t let them stack in your studio. All the materials on this list are non toxic, but it’s better to be safe!
Soap for brushes! To clean your oil brushes, you need a soap that will do the job. After you are done painting, I recommend squeezing out as much oil paint from your bushes as possible onto your rags. Then using my favorite soap, The Masters Brush Cleaner and Preserver, clean with soap and water.
A 1 oz container of this soap costs $7 and will last a long time. Keep the soap dry when not using to prolong that timeline. Squeeze clean brushes free of water and reshape. Dry flat.
Blick: https://www.dickblick.com/products/the-masters-brush-cleaner-preserver/
Amazon: https://amzn.to/3VhgN1A
Great basic brushes that will take some abuse.
There are many brush companies out there, experiment with a few kinds.
Brushes: 3-5 Synthetic brushes in different shapes in sizes. I recommend long handled oil painting brushes, it’s a better balance when you hold them and lets you get further away from the canvas.
Blick has a great set of 4 which will get you started. Save with this set of 4 brushes in a mixture of shapes! Includes the following brushes: Flat 6, Bright 4, Bright 12, and Round 6. I’d also recommend getting a bigger 1 inch wide brush in a flat. This will help you lay down bigger brush strokes.
https://www.dickblick.com/items/blick-studio-synthetic-brush-set-mixed-set-set-of-4/
https://www.dickblick.com/items/blick-scholastic-wonder-white-brush-bright-long-handle-size-20/
Amazon: https://amzn.to/3TYH8R8
If you have a little more money to spend I like this brand: https://amzn.to/3AFgyW9
Canvas paper can be taped down to a desk or hard board.
Stretched canvas is also a great option. Look for the value packs!
Surfaces: Now you have to paint on something. I recommend buying a pack of canvas at around 8x10 or bigger. Canvas paper is great for learning, so is a heavier weight paper. I’m including a 9x12 pack in my estimate. 10 sheets for $8.66
Tape the canvas sheets to a sturdy board to paint on, or a desk.
Blick: https://www.dickblick.com/items/strathmore-300-series-canvas-paper-pad-9-x-12-10-sheets/
Amazon: https://amzn.to/3EvyX98
Pallet Knives: I recommend getting two pallet knifes so it’s easier to mix your paint. Try to avoid mixing big batches of color with your brush. You’ll get cleaner, more even color with a pallet knife. These ones by blick are good. Two different sizes to get you started. Try a trowell shape with a point and one that is more rounded to start. About $4.10 each
Blick https://www.dickblick.com/products/blick-palette-knives-by-rgm/
Amazon https://amzn.to/3i6iX5W for a set of 5
Palette: You need somewhere to mix your paints. I paint on a thick glass surface, but a plastic one will work too. If you have to cut some pennies, you can also mix paint on several sheets of wax paper piled together. The paper tends to be fragile, so you’ll have to mix with a light hand.
I’m adding this pallet paper, which is sturdier than wax paper for you to mix on. It’s grey in color, which allows for better color visualization when moving color from pallet to painting.
Avoid using wood pallets as a beginner, it can be frustrating to use.
An easy way to upcycle a pallet is to use an old picture frame. Try to find a big one, anything under 8x10 will make you feel very cramped.
Blick https://www.dickblick.com/products/richeson-grey-matters-paper-palette/
Amazon https://amzn.to/3Oxv7B6
Gamsol: Gamsol is great for so many things. You can thin down your oil color, remove oil from brushes, and use it to tint a background. It’s odorless too.
Pro tip: Put down a colored ground for your backgrounds instead of the white of the canvas! To use, mix in 50/50 gamsol and burnt umber on your pallet. Then take that mixture and spread it all over your new canvas with a rag. Let completely dry, about 12 hours, and then begin your painting.
You can get a small 4.2 oz bottle of gamsol for 6.75 per bottle as of time of writing this.
Blick https://www.dickblick.com/items/gamblin-gamsol-odorless-mineral-spirits-42-oz-bottle/
Amazon: https://amzn.to/3Az6xJZ
The last thing you’ll need is practice time. Plan out a few hours every week in your calendar to paint! Make color wheels, copy other peoples work (they won’t mind- it’s practice!), doodle, and let your imagination go crazy!
For all these basics i just talked about, my total cost of getting started in oil painting from Blick.com is $130.09 . Thats for All the gamblin 1980 colors, two pallet knives, Pallet paper, 5 brushes, 10 pieces of canvas paper, Gamsol, linseed oil, and brush soap. Most of these things you won’t need to buy again for over a year. After this initial start up you’ll probably spend more money on more canvas, but that’s probably it!
If you wanted to get started in oil painting for under $100, you could eliminate: Sap Green, Phthalo Blue, Linseed Oil, one of the pallet knives, and one of the brushes. Removing those from my cart got it down to $97.78
Without the sap green you’ll have to mix your own greens, you’ll lose out on some really cool blues (but you have another blue to get you started), the linseed oil’s ability to thin out paint can be replaced with the gamsol (but you’ll have to use a different ratio to play with it), One pallet knife is doable but simply easier to work with when you have two, and removing a brush removes a shape you can make easily. All of this is workable though and you’ll still have a great start in oil painting. I’d highly recommend you spend the extra $30 and get the full kit!
Extra
As promised, here are the extra things i’d get if you have a special area of making you want to get into.
Tombow Mono Drawing Pencil Set
Wonderful pencils that will give you a lot of creative freedom.
Portrait & landscape: 2H-6H pencils for drawing underneath your painting. The harder the graphite (H) the lighter the pencil line you can get, the less likely it will bleed into your oil paint. These can be 1-3$ per pencil. It’s nice to have a range of them- good for drawing practice outside of painting too!
Landscape: All the same as portrait paintings, and a stick. Or a plum line if you want to be fancy. I’ve used kabab sticks in the past and they work great. You need something that is about a foot long and super skinny- this will help you measure things that are at a distance. To use, hold the stick with a fully outstretched arm, vertically. Then you use your hand to measure out, the distance from one tree to another, the mountain range to the buildings in the distance, where the pond is in relationship to the sky. Look up plum line tutorials on youtube for visual references.
French Half Easel
About $80 on amazon. Travel with it or keep it set up in your studio.
Plein Air: Perhaps I’ll do another episode on a complete plein air set up for oils, but the thing you’ll really need for this is a travel easel and a portable bag for all the things on the main list. These can cost anywhere from $30 - $200 depending on what style you get. Try to find one second hand for your first foray into this kind of painting and keep it simple. These work great
https://www.jerrysartarama.com/5x7-inch-guerrilla-painter-pocket-box You can get tripod attachments for these types so it’s self standing.
This is the one I have, but I’ve been painting for a long time.
https://www.dickblick.com/products/richeson-weston-half-french-easel/ I also have a back pack attachment for it to make it easier to carry in the field.
https://www.jerrysartarama.com/paris-french-easel-0086144000000
A view finder is also a handy tool. It helps you see the frame of what you are painting, which makes it easier to make those first marks. This is a fancy one at about $5.
https://www.dickblick.com/products/guerrilla-painter-composition-view-finder
Amazon: https://amzn.to/3i84437
This is the one I have at $8 https://www.dickblick.com/products/viewcatcher/ I like it because the frame is adjustable. You can also make your own one of these with two L shaped pieces of hardboard paper and hold them up with your hands. Might cost you 30 cents
Abstract: I make abstract geometric work and i can’t live without a ruler and a compass. I have both from the hardware store, about $15 each depending on how sturdy of a tool you want. Tape is handy to have, but you have to wait for layers to dry between adding it on, which can take days.
Still lives: A good spot light will make for better still life set ups. I recommend getting a clamp light from the hardware store, plus a day light bulb. The free version of this is a window.
Having a foam core/ cardboard backdrop to set drapery, colored paper, and other backgrounds on is very handy for the still life artist. I made one for about a dollar with foam core and some tape a few years back and it’s still has a lot of life left. I’ll use binder clips to clamp on colors for the still life or attach any of the still life objects i want. Having a set up like this also helps with delignating your space in your painting. win-win.
Let me know if you have any questions about getting art supplies for your work! Tag me @stephaniescott.art or @brushworkpod on Instagram so I can see your first paintings~
Host and artist Stephanie Scott breaks down the practicality of the art career with topics including: sustainable creative practices, social media skills, and the mindsets that keep it all together. New episodes every Tuesday!
Pinterest: https://www.pinterest.com/stephaniescottart/
YouTube: https://www.youtube.com/@stephaniescottart
Instagram: https://www.instagram.com/stephaniescott.art/
Website: http://www.stephaniescott.art/brushwork
Music by @winepot https://www.instagram.com/thewinepot/
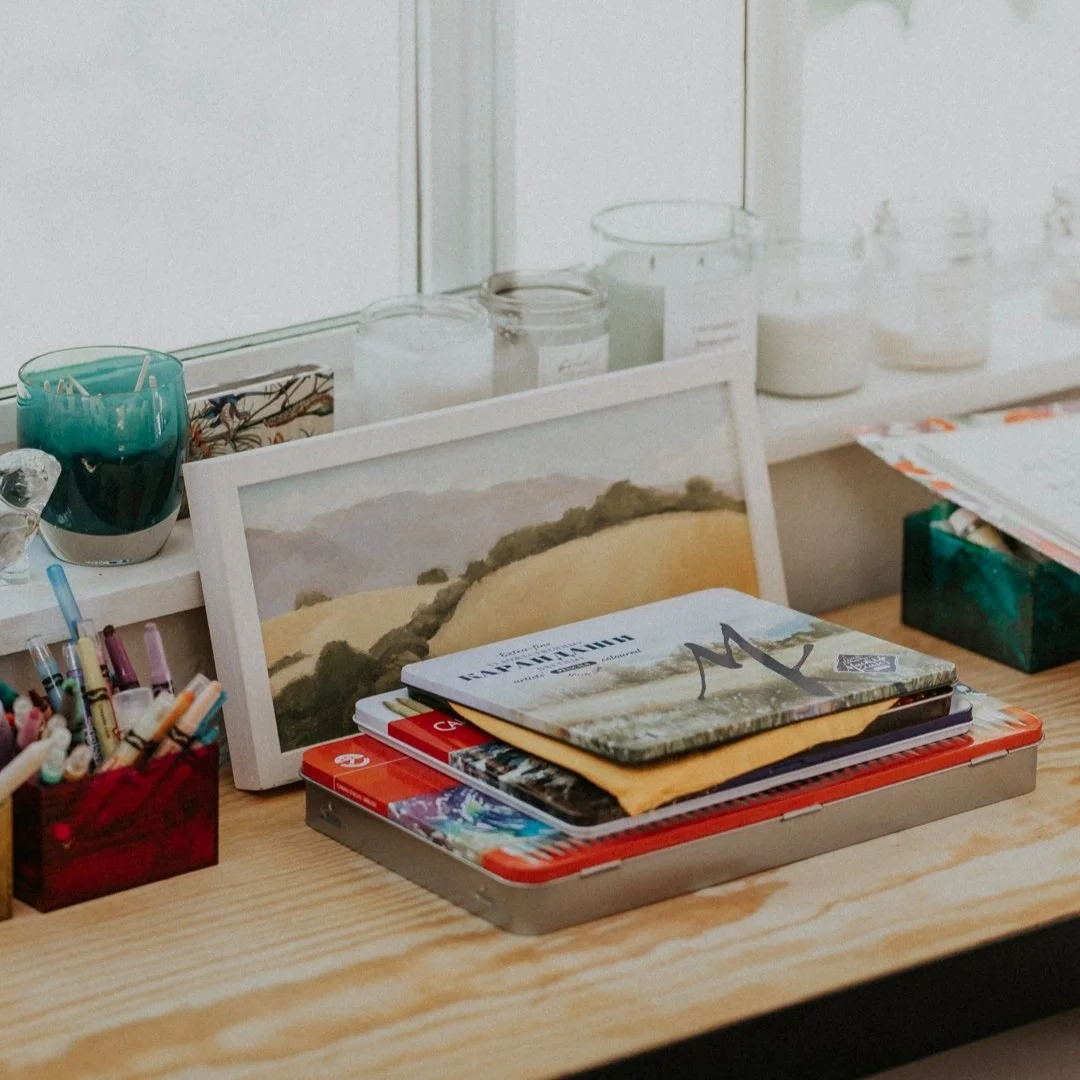
Podcast Cover photo by Maryna Blumqvist https://instagram.com/picturemaryna
